Wednesday, 18 January 2012

workmen are here

Good morning everyone, its been a cold week and I have not been able to do a lot, have finally decided on my next project, a pet shop, I got some printies and made some food boxes, tins and other bits, feeling a lot better today, so workroom here I come,

I have the builders in today, they are putting a shower in my bathroom, so upside down for a couple of days, when they have finished I will have to get the bathroom decorated, not sure yet what colour it will be yet.

I have also agreed to have a table at a find raising event in March, so now I have got to make miniatures that I can take, also I will be doing some of my shabby chic stuff, I hope the weather gets better as I need to visit the junk shops to get items I can recycle,

There goes the door bell, work men here, have to go  talk soon

Saturday, 14 January 2012

I got a new book

I have been trying my hand at making flowers and plants, have been quite pleased with the results, but felt I could do better, I have been looking for a book that would explain how to make flowers and plants and yep I have found one, its great.
Its called Making Miniature Gardens by Freida Gray, It is divided into 2 part's first part covers Techniques and Materials, this is very useful, the instructions are clear and easy to follow, discusses many ways to make flowers, plants ect, lots of pictures to make it easy to follow.
The second part is all about Projects, there are so many you can do, from simple window boxes right through to full gardens scenes, even how to make a green house, I got this book from Amazon, and I would recommend it to anyone who is interested in gardens.

Woke up today with a covering of frost everywhere, so staying in today, I am very careful when it gets very cold, my joints will get very painful if I get cold, hence staying in, its become very difficult for me now, since I have been put onto warfarin, they have taken away my anti inflammatory drugs, so when my joints become swollen there is nothing I can do, good job I can still smile.

Poor puppy, it was fatal letting her have her first haircut, she shivers when she goes outside, I cannot find a coat small enough for her, so I am going to try and adapt a woollen sock into a coat for her, that should be fun.
well better do some housework, I can see lots of dust!!! do you know the older I get the more allergic I get to that disease called hoosework, anyone else suffer from this?
bye for now hoover calling

Thursday, 12 January 2012

One down


Hello and welcome to my new follower, happy to have you here, hope you have fun looking at my work, feel free to leave any comments

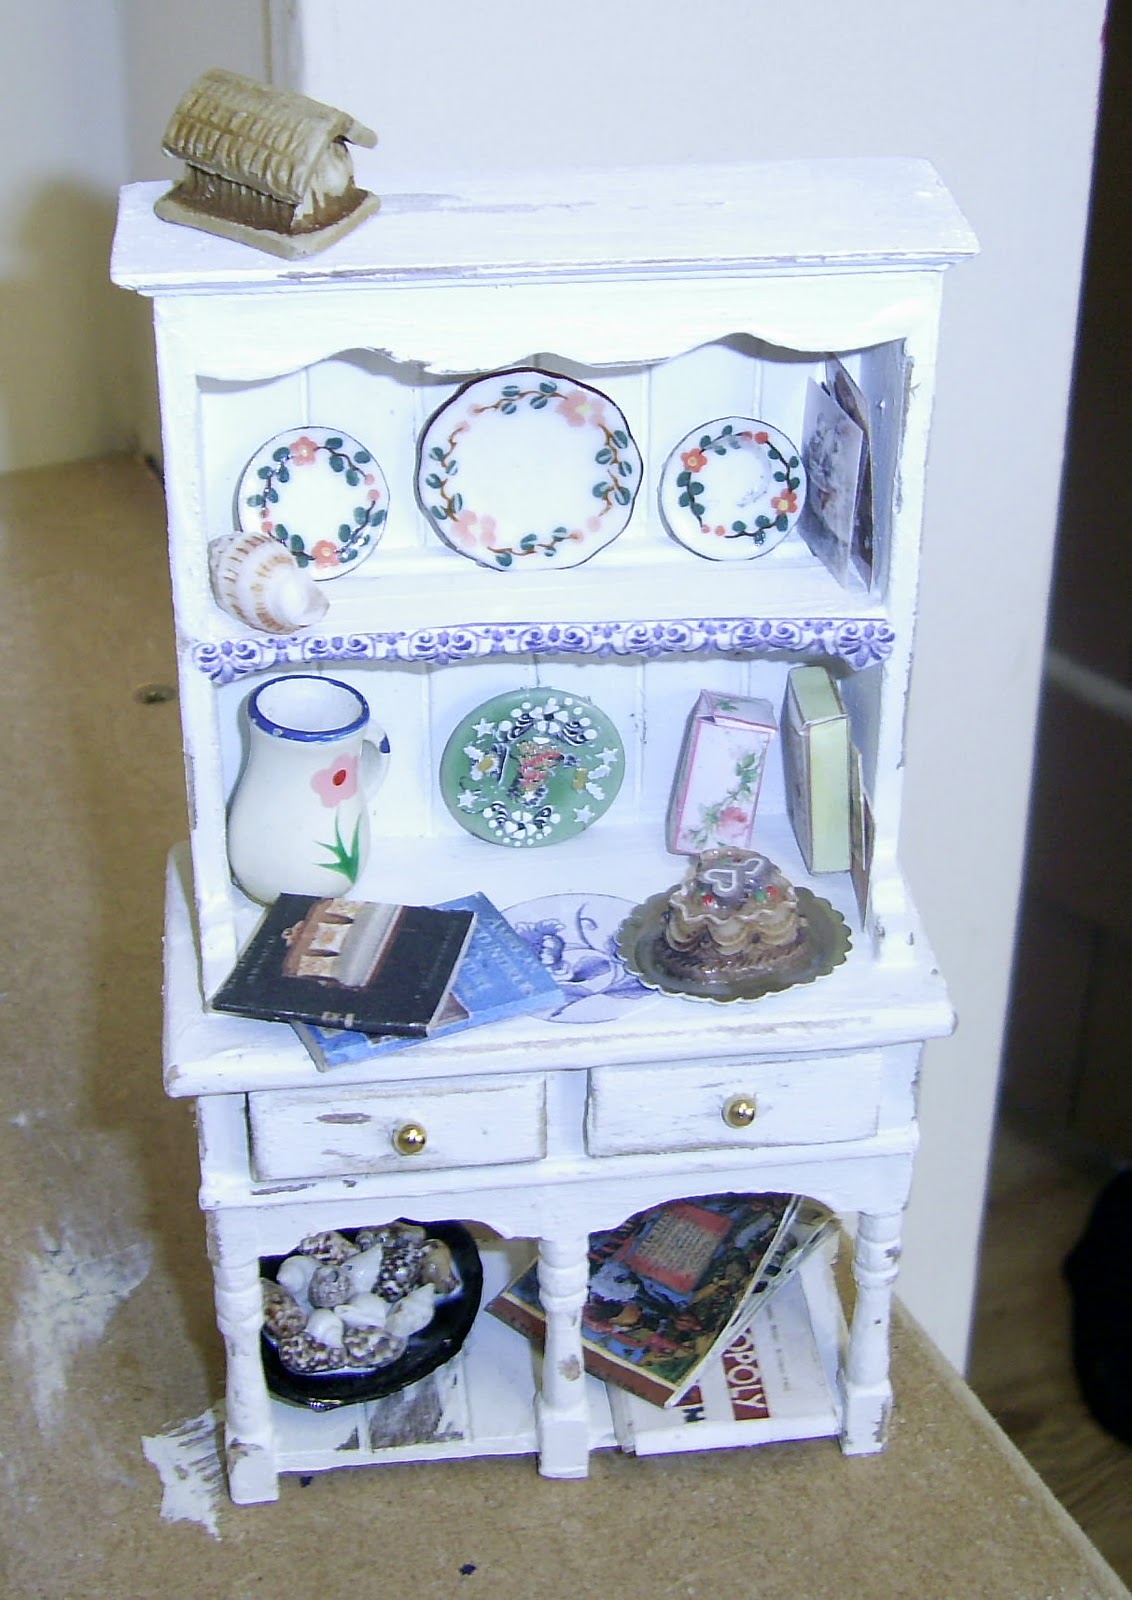
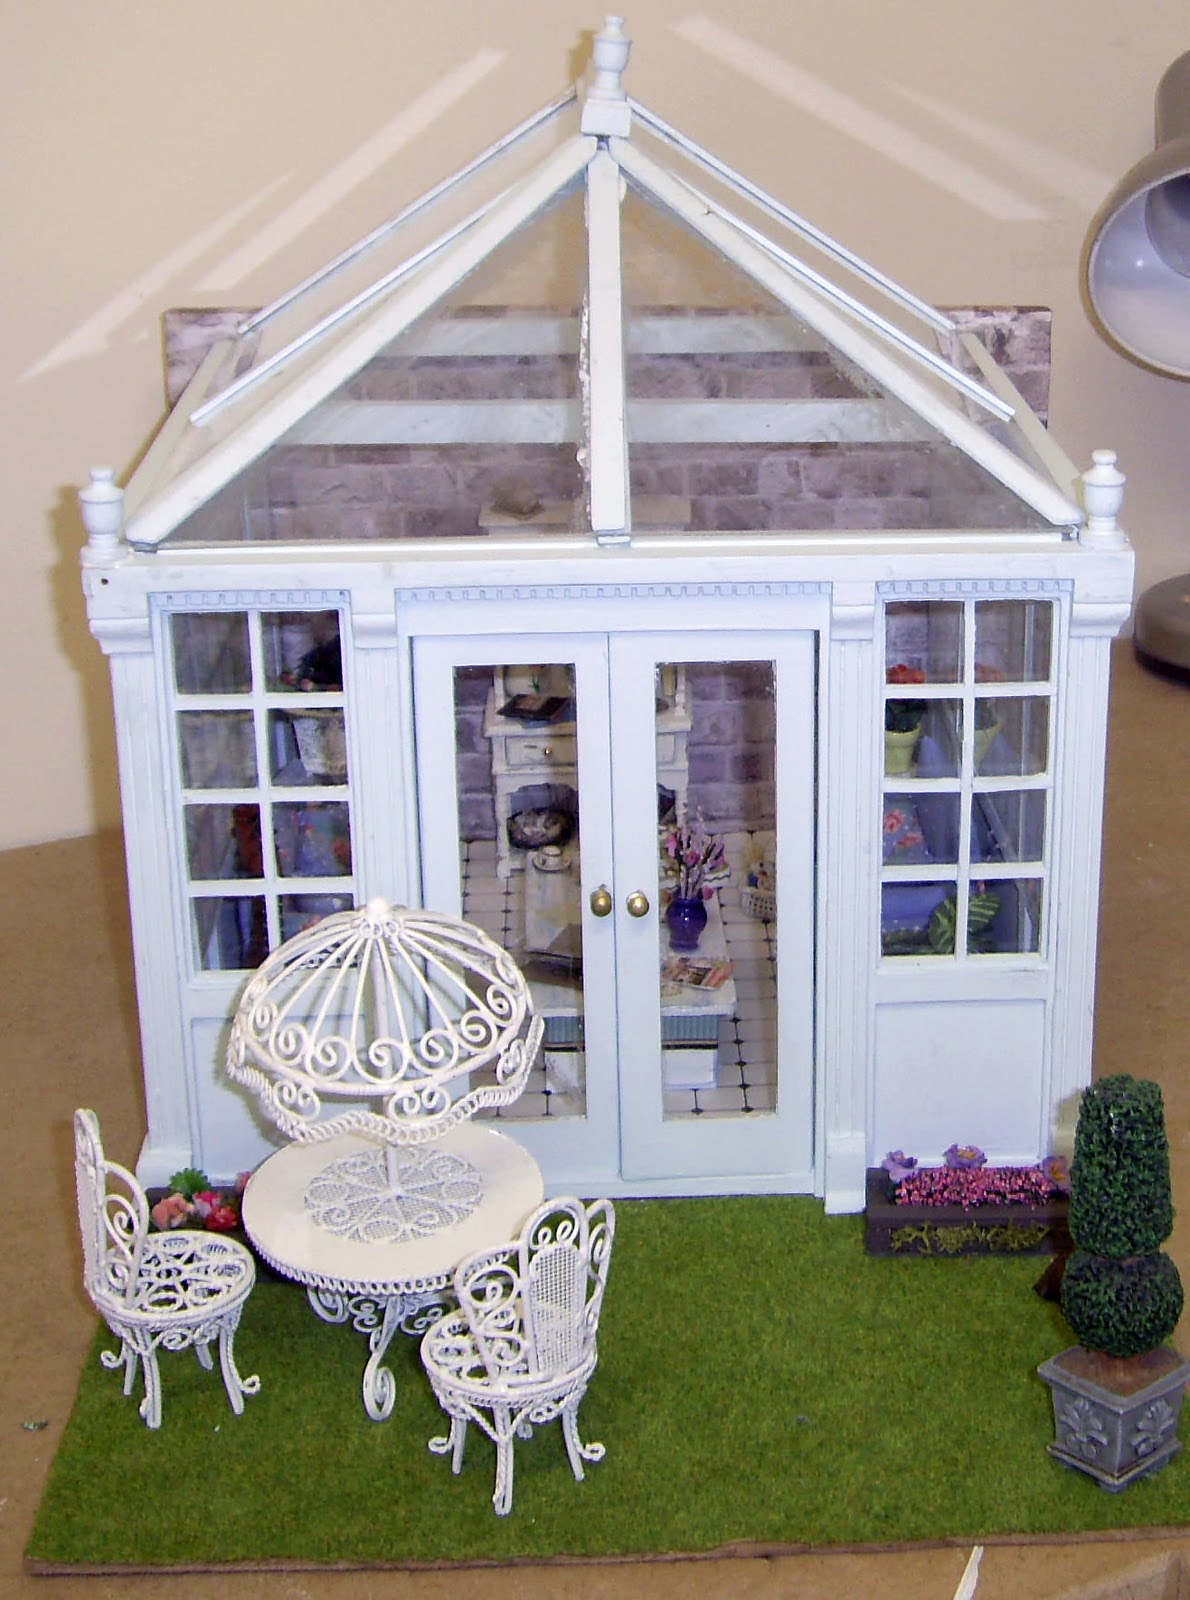
first project finished, today I managed to complete the conservatory, the last few days i have been busy making bits to go in it, I painted and then distressed a dresser and decorated it with objects, made a coffee table and dressed it with tray, tea items, cakes, magazines, flowers, all made by me, I then came to the bit I enjoy the most, dressing up the conservatory, I am very pleased with the final look, I have got to just tidy it up a bit now, it needs some of the paint work touching up and the roof panels cleaning,

have a look at the pictures and see what you think


The dresser painted


completed dresser


hopefully this looks lived in


made the little wooden boxes and added the flowers


So there it is, like it?

got thinking about my next project, I am really on a roll, I was toying with the idea of a Japanese room or a pet shop, I was looking through my stash of books and magazines and I came across a Crofters cabin made from a cardboard box, this has got me very excited, so it might be that, we will see.

Today my little puppy Muppet had her first haircut and nails done, she was very good and stayed still for a long time, she looks even smaller now and not so scruffy,


before

After the haircut
well that's all for now, see you all soon, I will let you know what I have decided to do

Monday, 9 January 2012

here we are again

Am I the only one, but I always seem to have a problem with my blog title, spend ages thinking about it and came up "here we are again" how boring is that, anyway lets get on with the update.

Quiet weekend, did not get a chance to work on my project, the truth is I did not feel to good so spent a lot of time in bed, feeling better now,

I managed to find a board big enough to take the conservatory and give me a lawn area, I have worked out how it all went together, after many false starts, remind me never again to buy anything in bits again, as this would of been against the house and I was doing it as a stand alone project, I made a brick wall to put it against, I decided not to go with the blue and whites I had made earlier, as it looked like to much blue, I had some black and white flooring and have used that instead.

still have a lot more to do, going to make some plants and flowers, and other bits as I go along.

lets see the photos


this is what i had to work out


getting there


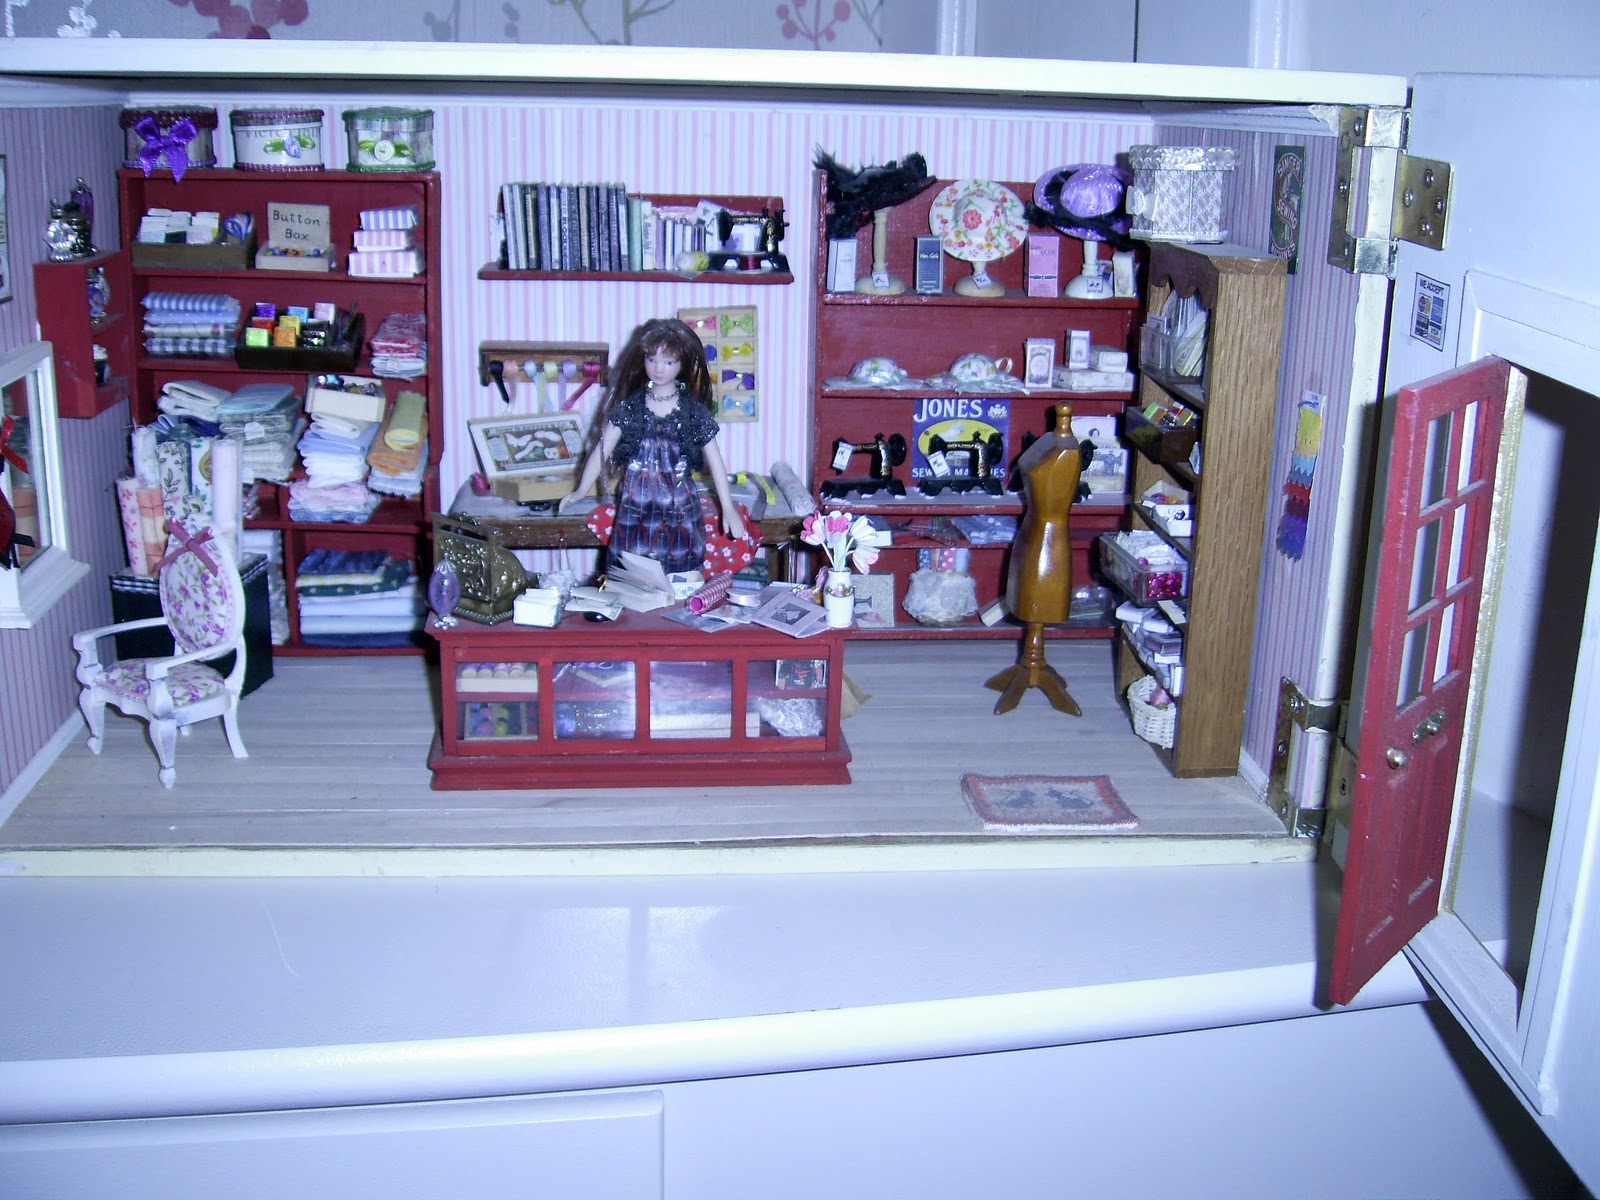
I was going through my photos and thought you might like to see my first project, I made all the fabric bolts, books ect, it now sits in my room, I still get lots of pleasure from it.
see you all soon


Friday, 6 January 2012

Tutorial how I made the settee

As promised here is how I made the settee,

I found the pattern for this in my stash of stuff, not sure where it came from, I have used this before but found it very easy to do, so here goes.


you need to cut out above in mount board or stiff card, settee back and sides ( the long bit) measures 20cm, (bottom) sides 4.5cm, top 5cm,1cm,10cm, 1cm, 5cm, on this bit you also need to make a fold 5cm in from both sides, and make a mark halfway to give you the seat level, with me so far, also cut shape in material, making it larger to enable you to cover it.
seat base 10cm long by7.5cm, again make a fold 2.5cm from the bottom edge, this forms the front of the settee, ( I also made cushion for this, its your choice.)
settee base5cm x 10cm, cut one in card and one in calico.
back cushion 11.5cm x4.5cm in material,
side cushions 5cm x 3cm, cut 4 in material.
hope you all understand that.


score sides so that they will fold round.

showing folds


cover the settee back and sides, seat base and front, in material of your choice, cover the base with calico


with material cut slightly bigger


all bits covered
 glue base to settee back and side, ( I use  masking tape to hold it together till fixed)
attach seat base and front,


seat base and front glued on

make cushions, glue back and side cushions in place,  add trim of your choice and hopefully you will now have a lovely little settee.


finished settees
 I hope you are able to follow my tutorial,
today I started to put the conservatory together, no pictures yet, getting the window frames in was very difficult, as I have repainted them, I had to trim round the frames to make them fit, so I have got to repaint areas where I have taken the paint off, I covered a bit of mdf with brick paper to form a wall, I am now looking for a board large enough to take the conservatory and to have a lawn area, looks like a trip to my local diy shop.
will be going tomorrow, got to take my car now for a MOT, wish me luck, see you all soon

Thursday, 5 January 2012

I am making progress

Hello and welcome to my new followers, I do hope you enjoy what you see, please feel free to leave comments,

I am making progress with my new project, so far I have been painting and more painting, and you know how much i enjoy that. I have finished painting,
I can now start adding photos, did not before as I did not want you to become as bored as I was, and no matter how I tried I could not make painting interesting, ( note to self, Shut up about painting!!!)

I made the flooring by cutting up tiny squares, I made 200, I then painted half pale blue and the rest cream, I will place these on card before I [put then on the floor of the conservatory.

I painted the conservatory pale blue, and when I was trying to put it together I found it did not have a back, so I now have got to make a wall to place it against, ( more work)

I made a small settee out of mount board and covered it, need to make another one, and a coffee table, there is still a long way way to go.

yesterday I went to my local recycling centre, they had a half price sale, came home with lots of stuff, including some Formica sheets, material, so much I had to buy another box to store it in, so much for me saying I would not buy so much this year, never mind I convince myself it will come in handy sometime,

lets see the photos


the cream tiles

pale blue

so easy to make, will have to show you how I made it


as you can see lots to put together

So as you can see a long way to go, got a bit of housework to do and then its back to doing what I enjoy, see you all soon


Sunday, 1 January 2012

Hi everyone

Hi everyone, I hope you had a great new year eve and are now ready to face the new year ahead, can you believe it its 2012, where does the time go?
already the shops are getting ready for Easter and you can buy your eggs, ah!!! give us a break,

I have started my next project, I have decided to get projects that I have started and not finished, finished, before I start on anything else, well that's what I am telling myself I will be doing, things may change, I am also going to try and keep my work room tidy, that will be a laugh. the other day I painted one wall yellow, and sorted out all my boxes, labelled and repacked items, I felt I had a productive day, now when i look in mt work room its looks so clean and tidy, for how long I ask myself.

anyway this first project, i brought sometime last year from eBay a wooden conservatory, that was in bits, it has been varnished in a horrible brown stain, it has no instructions and it is in many pieces, I have started to take off the stain, will be painting it white, no pictures of it yet, but will add some, not sure what kind of decor I will be having inside, got to find out how it fits together.

Have got a picture for you, My mum gave me an goose egg, that had been turned into a miniature scene, it is so delicate and usually lives on top of my cabinet so its doesn't get broken.
take a look
has anyone seen this type of miniature before?


egg closed, see how delicate it is

lot of detail inside,

the egg has been painted inside