
 |
| after i painted the chairs cream i recovered the seats and back with a pale blue material and edged them with pale grey trim. i have also distressed them to give a worn look |

 |
| the table and chairs finished, again i distressed the table, i added the grey trim and used silver paint to highlight the raised areas |
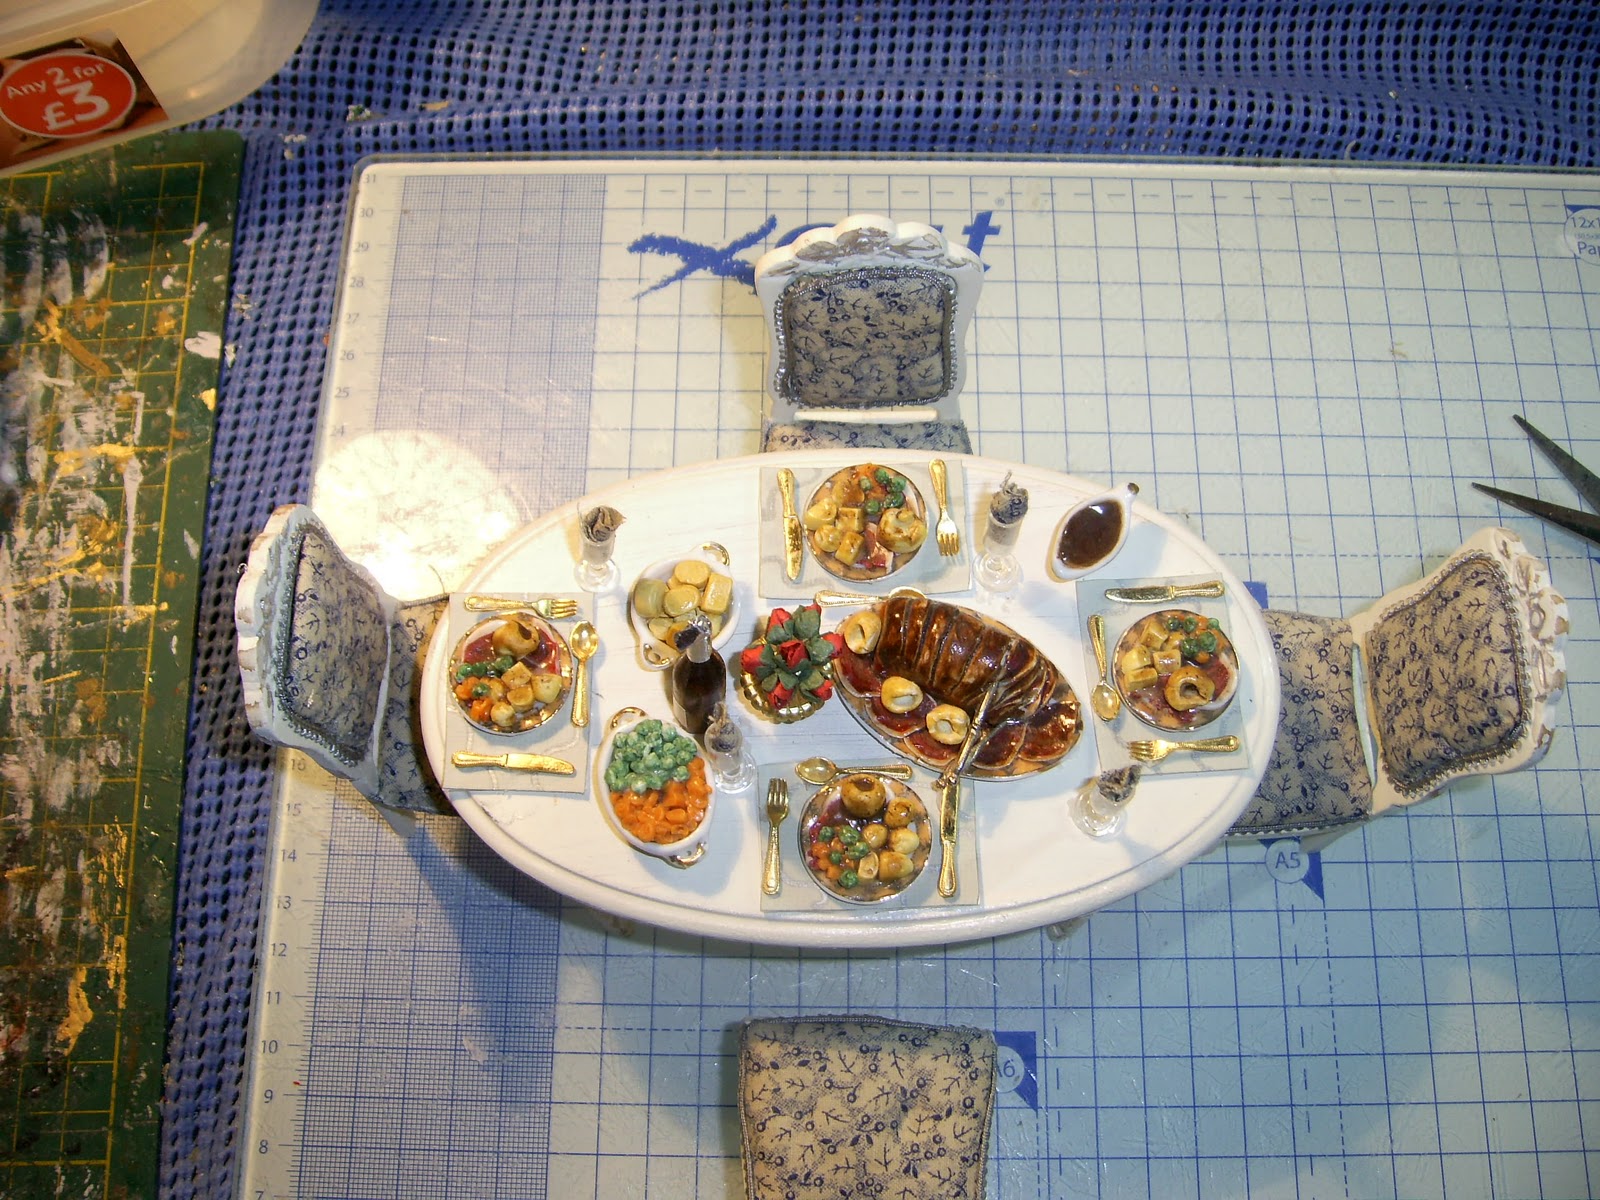 |
| i made small table mats, and placed napkins in the wine glasses, the food came from my supplies and i made the posy vase from jewellery finds, |
 |
| i am very pleased with the finished item |
this started as a plain dark brown table and chairs, and i hope i have shown you what you can do with a bit of imagination you can transform the items into something special.
Tutorial
button box
This is a little button box that i made, remember i am updating my haberdashery shop.
to make the button box,
cut from either stiff card or thin wood
base 2cm x 3cm
side and lid 2.5cm x 2cm
front 3cm x .5cm
sides (cut 2) .5cm x 2cm
stain the wood, i find it is easier to stain first as sometimes the stain will not take if there is any debris of glue.
when dry glue all together,
tip for staining, i use furniture scratch pens, these come in various colours of wood and are usually for covering scratches on furniture, but they are really good for staining small pieces of wood.
once glue is set, make a small label for your box,
add a selection of small beads and there you have a sweet little button box

A great find,
i found these sweet little hats in my local 1.00 shop, they are meant for card decorating, but i have found you can take the net cover off and you are left with a base for a hat for you to decorate as you wish,
in the picture the hat at the front is one that i have stripped ready to decorate,

well that's it for today, hope you enjoy this entry and please feel free to make comments, they are always welcome
No comments:
Post a Comment